Make No Code Dashboards from Workato
💭 Would you like to go over this topic with an instadeq specialist?
📅 Book a Call Free of Charge
Workato
Workato enables both business and IT teams to integrate their apps and automate business workflows without compromising security and governance. It enables companies to drive real time outcomes from business events.
You can follow our guide Create Dashboards that Update from WebHooks to learn how to connect your favourite apps with Instadeq using Workato and Instadeq Webhooks.
You can use Workato HTTP Action to send records from Workato to an Instadeq Webhook.
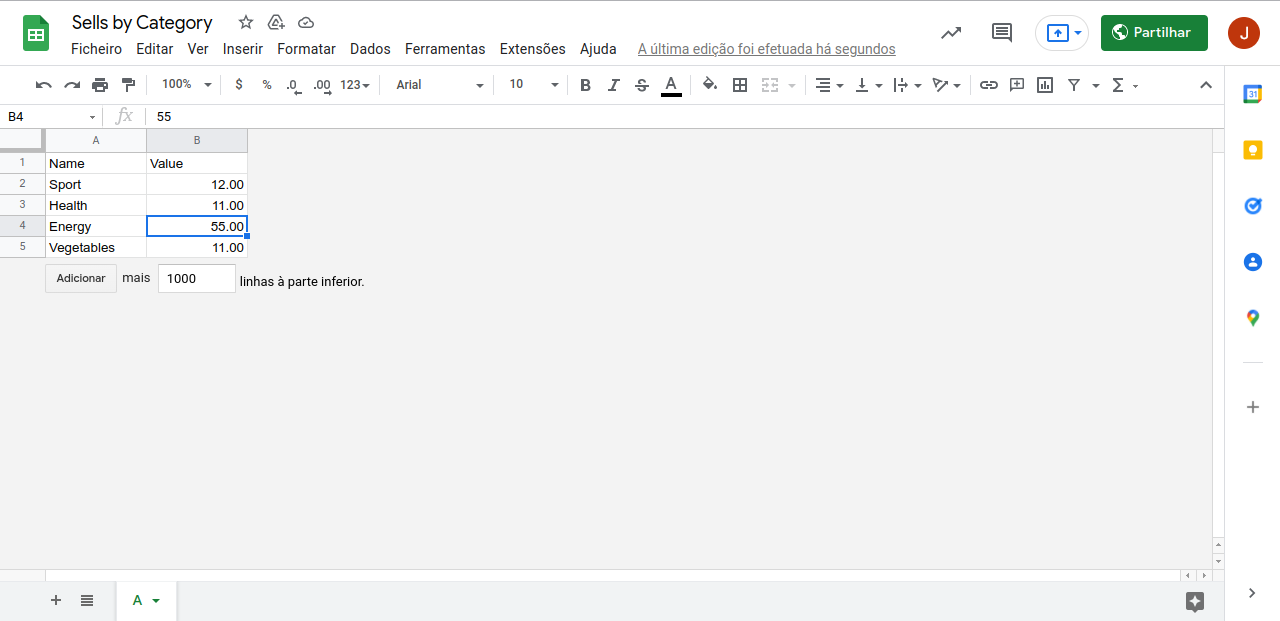
We will use the a Google Sheet document as a trigger for our Recipe example.
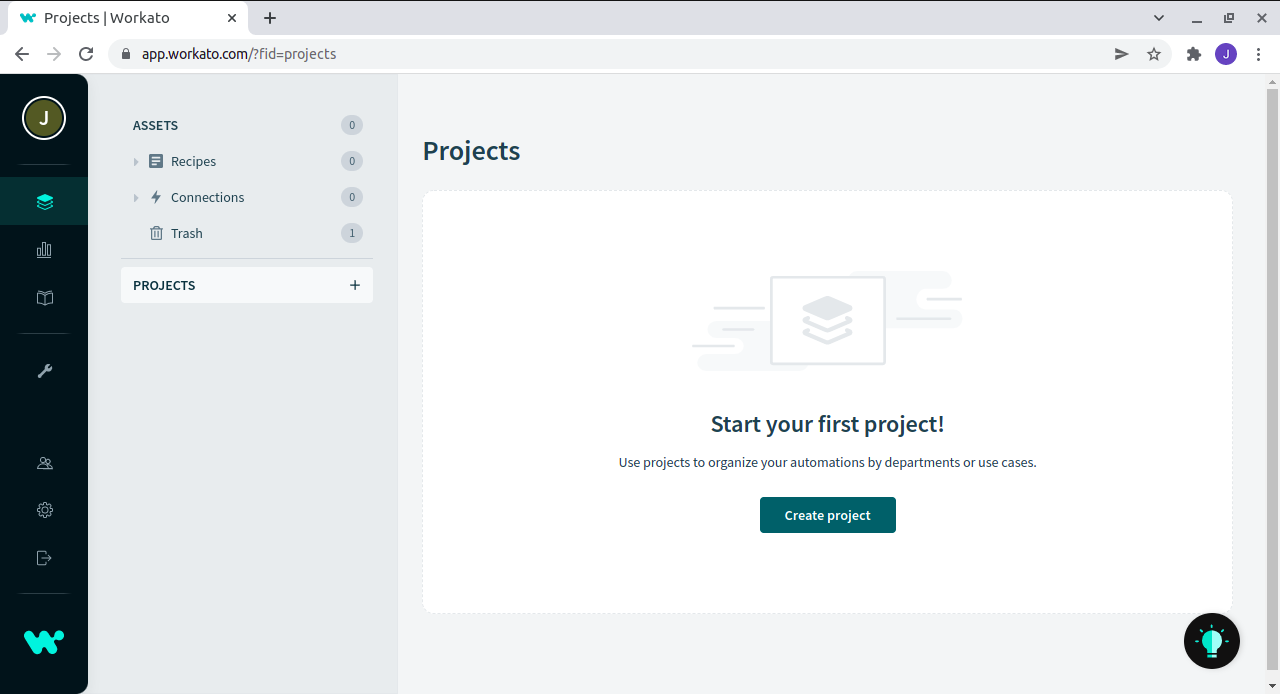
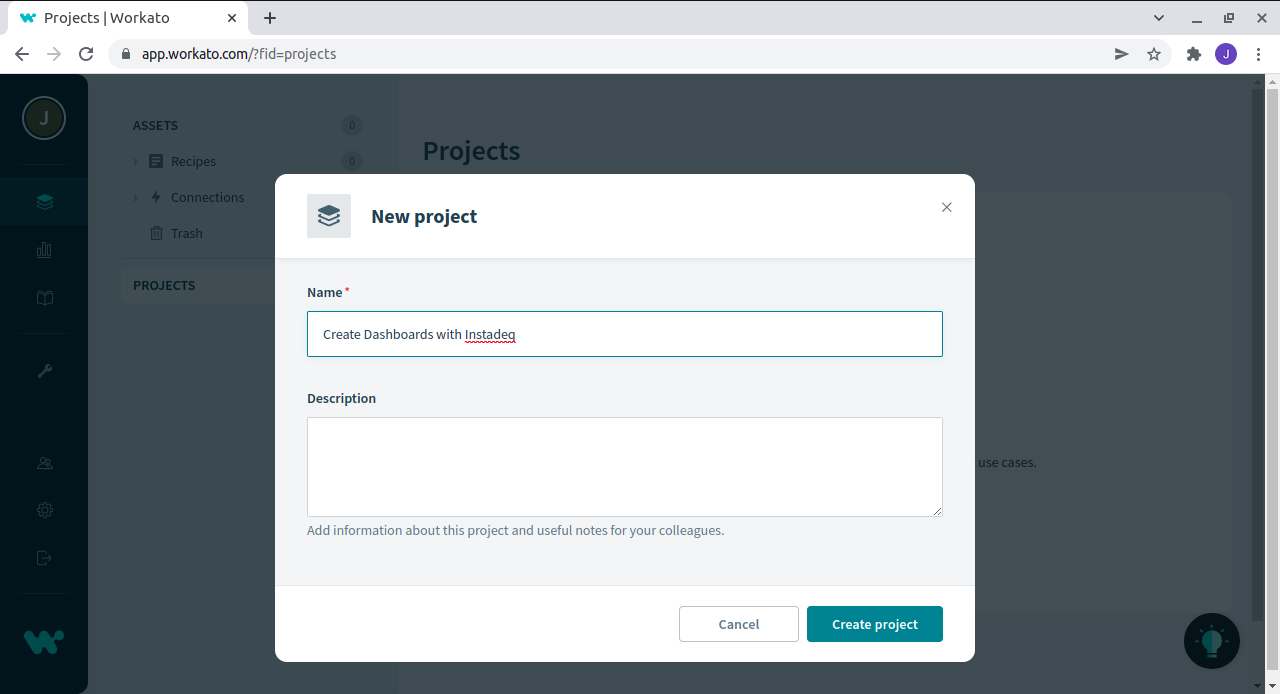
Step 1 - Create a new Project
A project is like a repository for your integration assets. A project holds the related set of assets for your integrations, including recipes, connections, and subfolders.
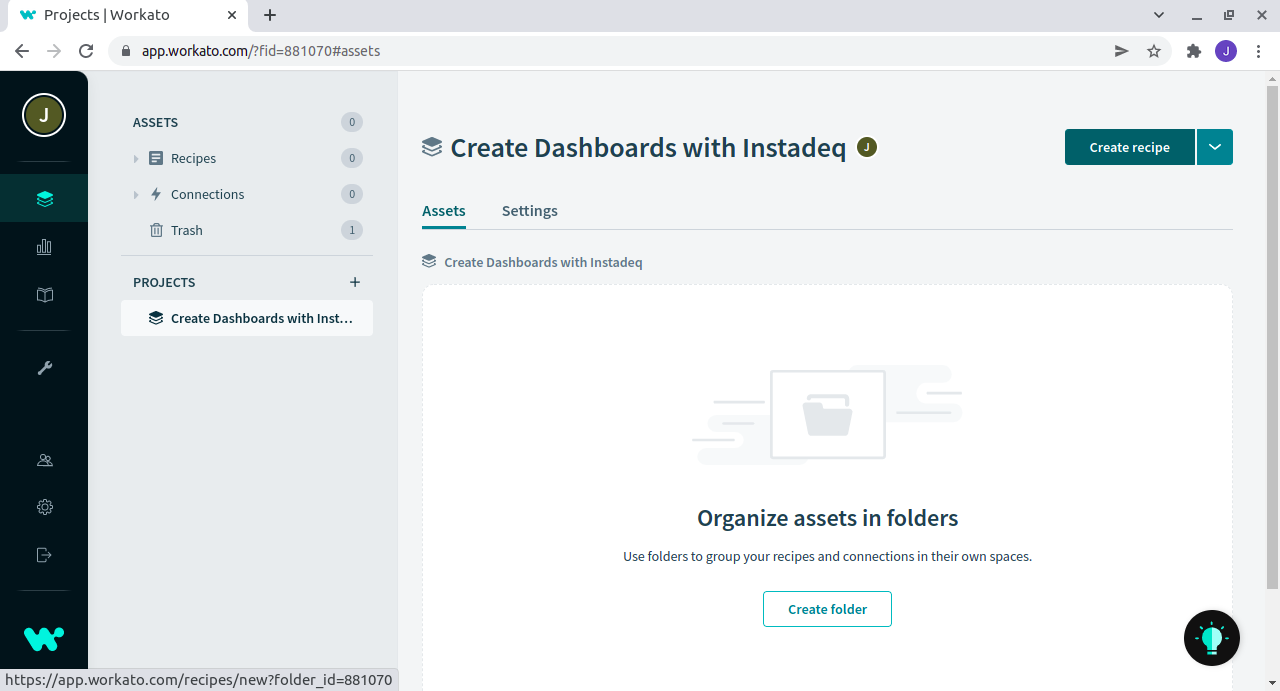
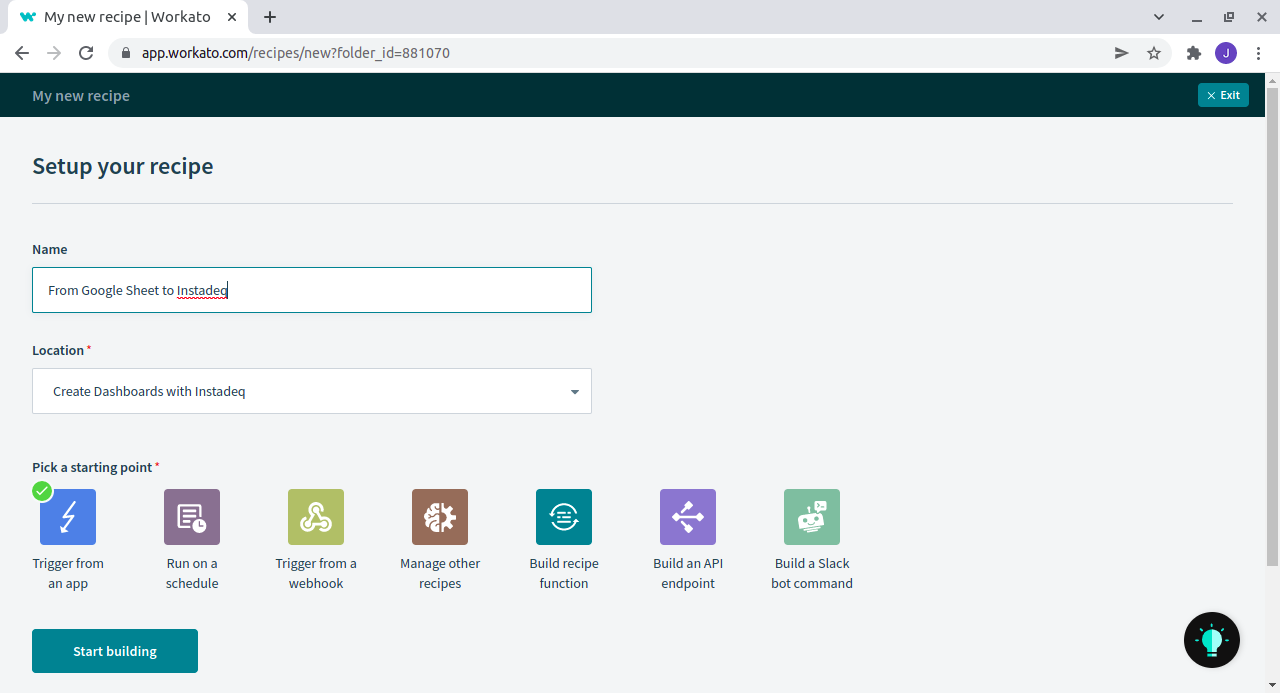
Step 2 - Create a new Recipe
Workato recipes are a set of steps that Workato will follow to get work done between your apps. Recipes have many advanced features, allowing them to handle all app integration and workflow automation scenarios, including complex data transformations, conditional triggers and actions, duplicate detection and much more.
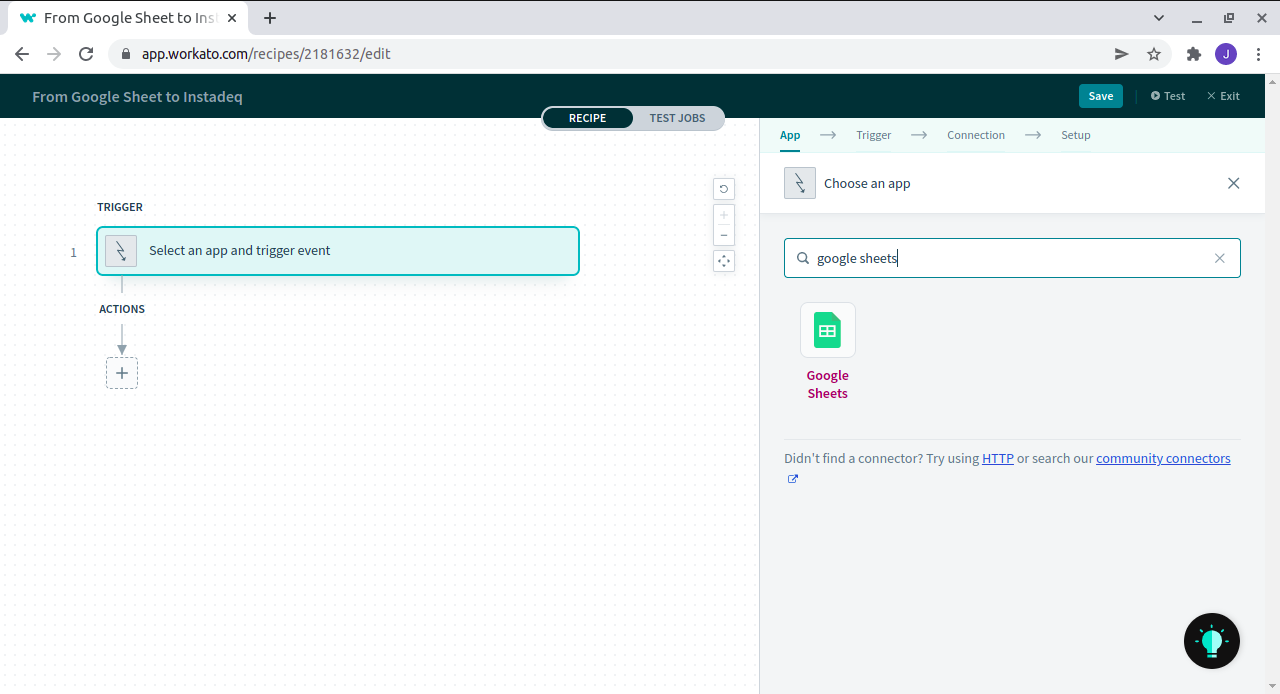
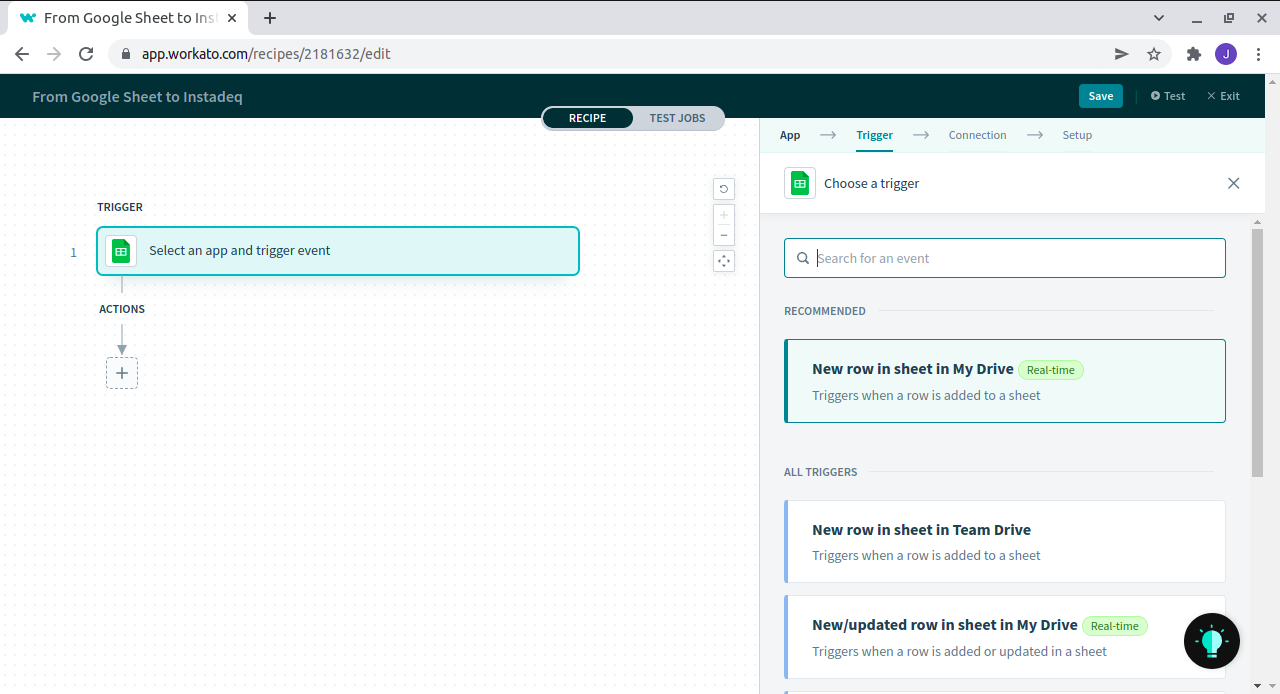
Step 3 - Select Google Sheets as Trigger
In this example, we will use Google Sheets as Trigger but you can use any of the Integrations provided by Workato.
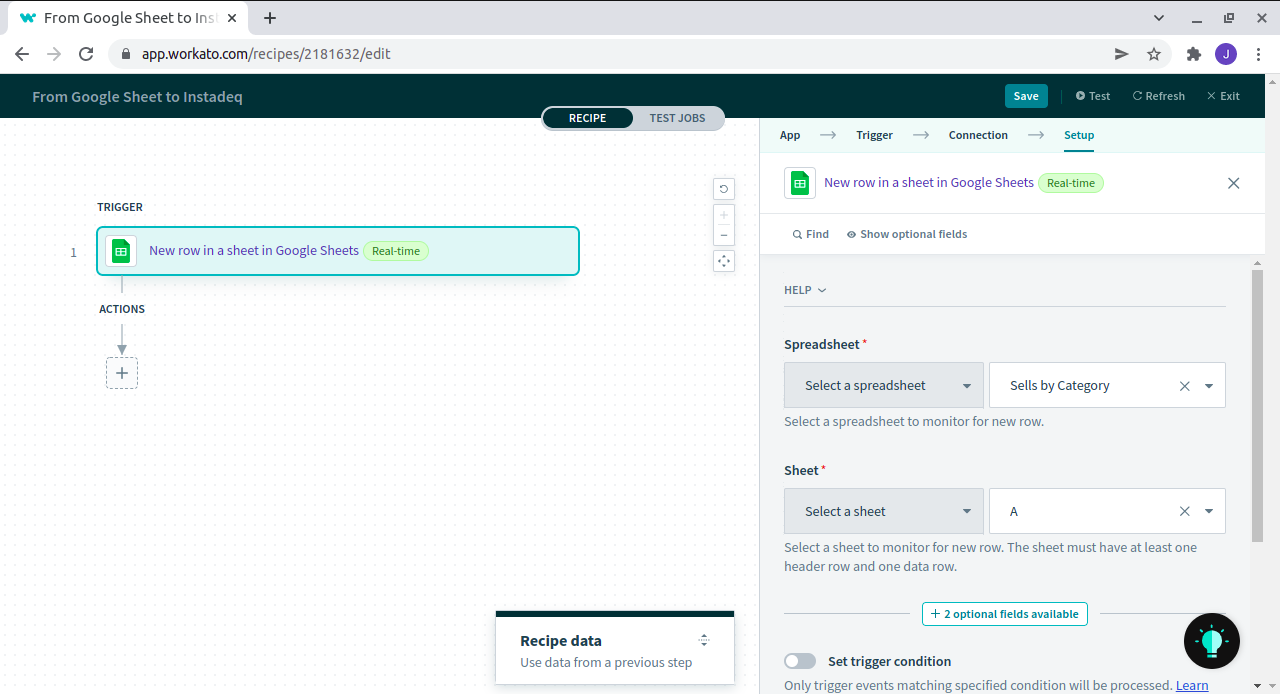
Step 4 - Configure your Google Account and favourite Sheet
Follow the Workato steps to give it access to your Google Sheets.
Select a spreadsheet an a specific Sheet to monitor for new rows.
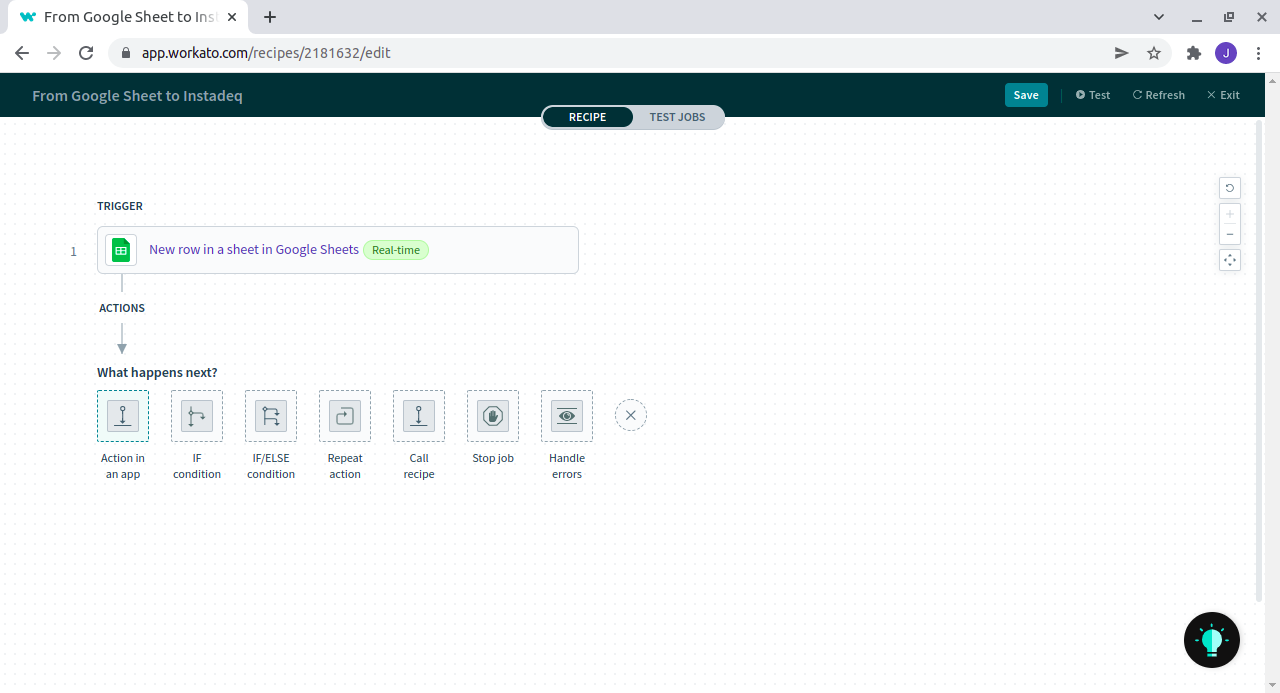
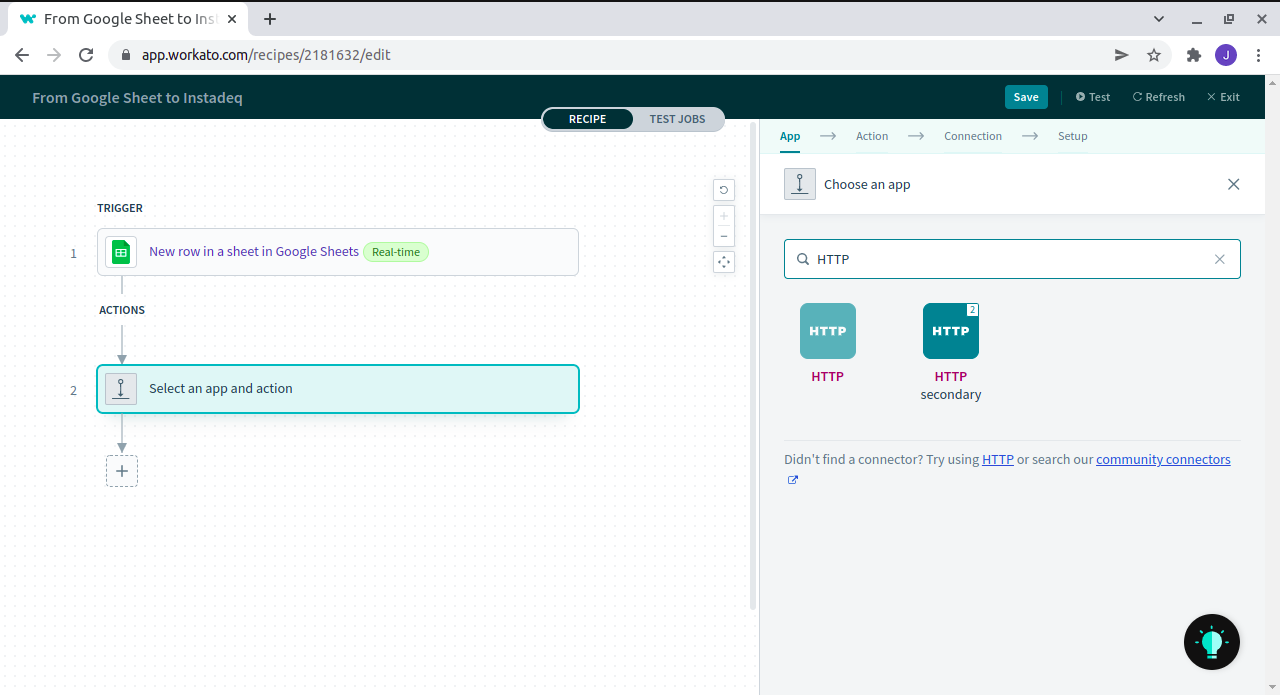
Step 5 - Select HTTP App as Action
You can use Workato HTTP Action to send records from Workato to Instadeq.
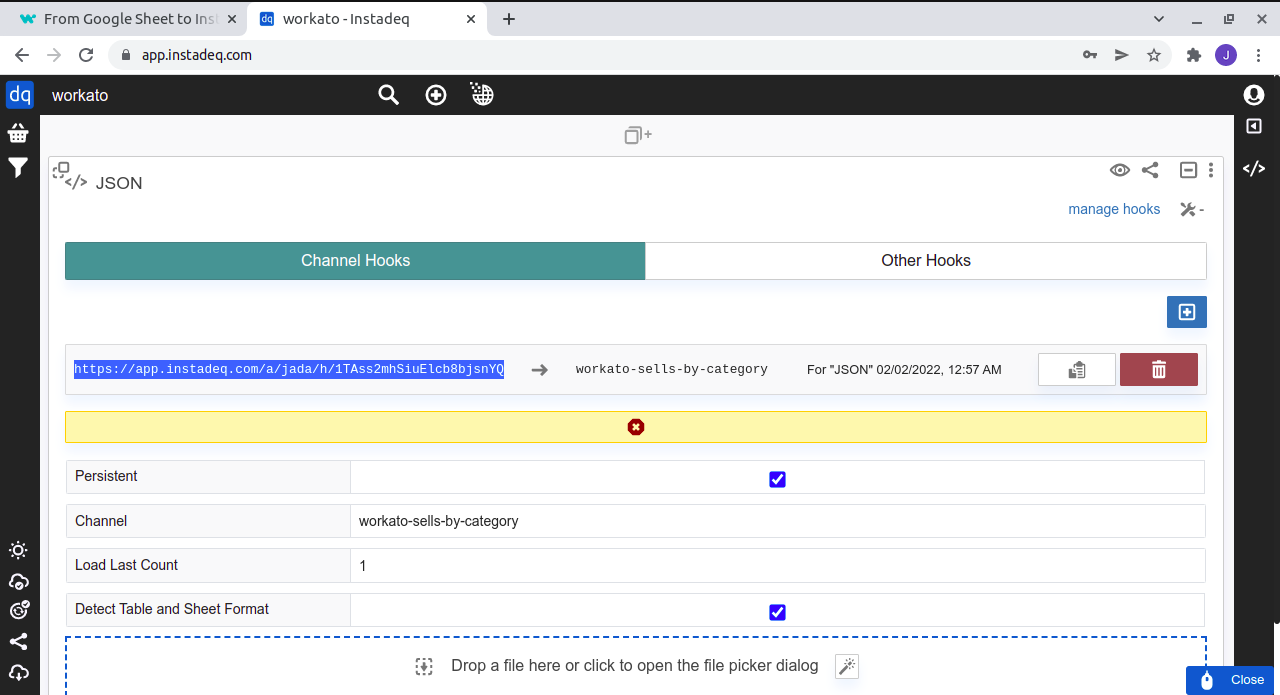
Step 6 - Generate an Instadeq Webhook for your JSON Card
To learn more about Instadeq Webhook, you can check our Create Dashboards from Webhooks guide.
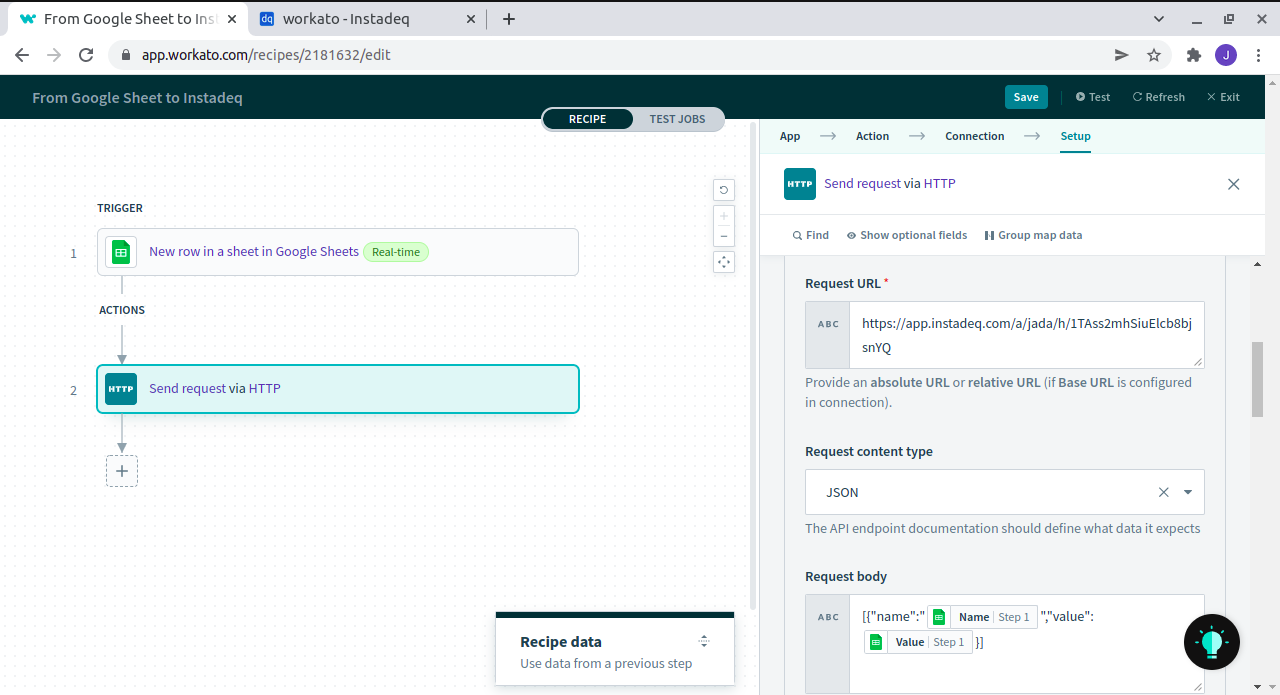
Step 7 - Configure HTTP Action to send records to Instadeq
Copy and paste your Instadeq Webhook URL to Request URL field.
If you are using a JSON Card, select Request content type = JSON.
Build a valid JSON in Request body.
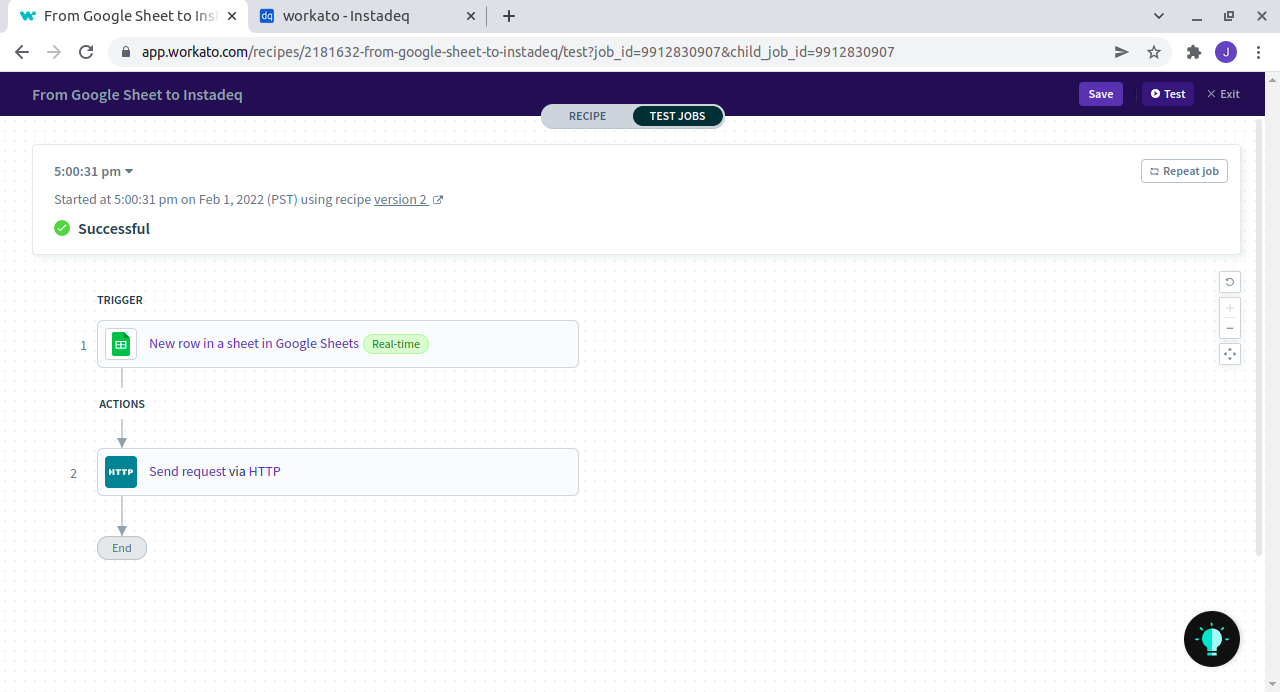
Step 8 - Test your Recipe
Click on Test Jobs to send your first row from Google Sheet to Instadeq.
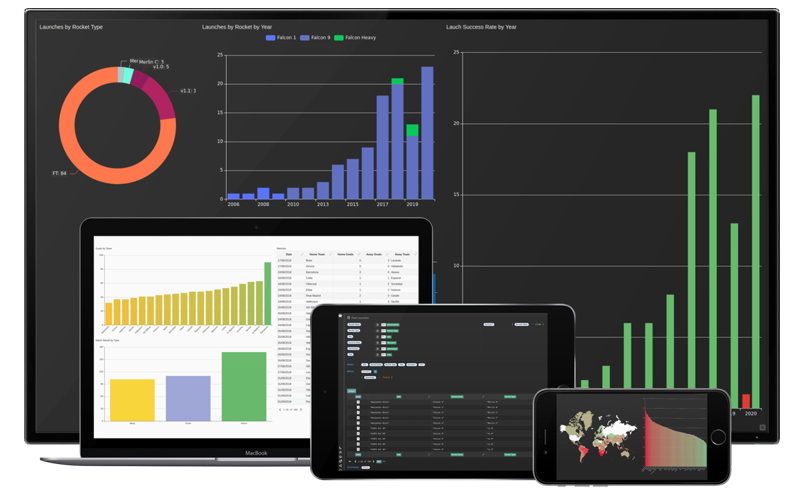
Step 9 - Create a live Dashboard
Now you can follow our guides, videos or use our templates to create a live no-code dashboard using the data from Workato.
💭 Would you like to go over this topic with an instadeq specialist?
📅 Book a Call Free of Charge