Make No Code Dashboards from Integromat
💭 Would you like to go over this topic with an instadeq specialist?
📅 Book a Call Free of Charge
Integromat
Integromat is a powerful integration platform that allows you to visualize, design and automate your work in minutes.
You can follow our guide Create Dashboards that Update from WebHooks to learn how to connect your favourite apps with Instadeq using Integromat and Instadeq Webhooks.
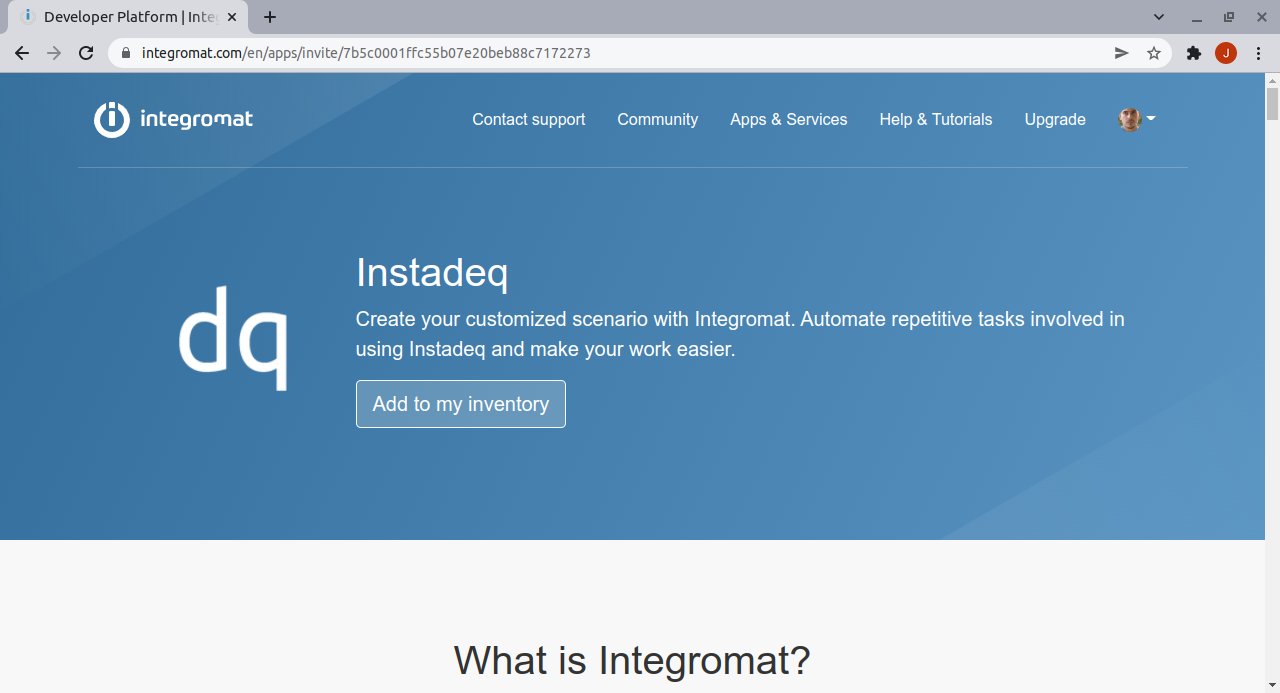
Step 1- Add Instadeq to your inventory
Open the home page of Instadeq App for Integromat and click on "Add to my Inventory"
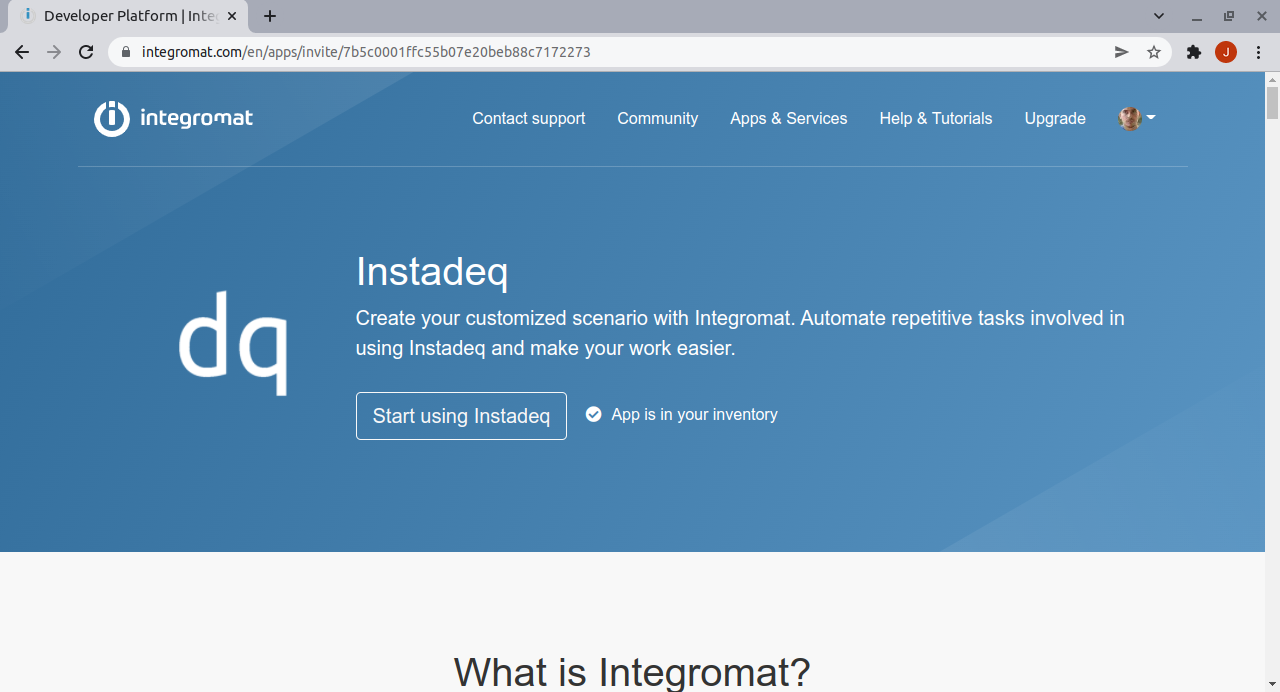
Step 2 - Start using Instadeq app
Once Instadeq is part of your apps, you can use it in your existing Scenarios or click on "Start using Instadeq" to create a new Scenario.
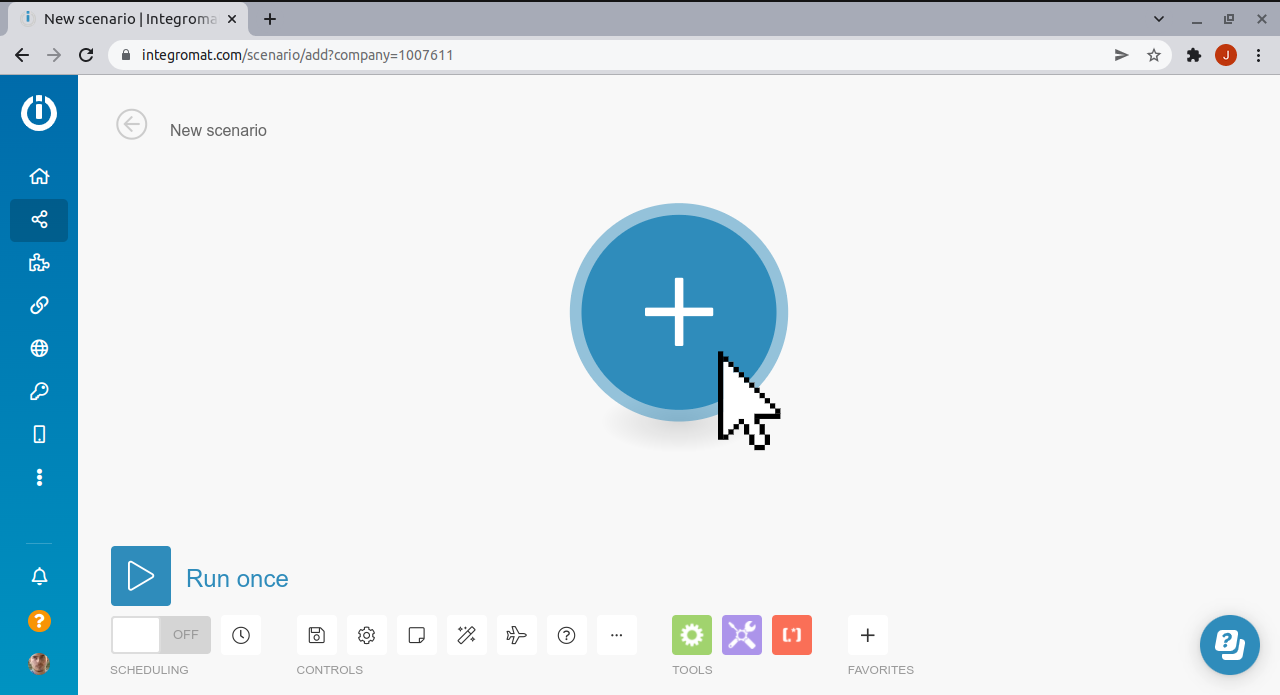
Step 3 - Create a valid Scenario
If you are not familiar with Integromat, we recommend you to follow their Getting Started videos and Ste-by-step walkthroughs.
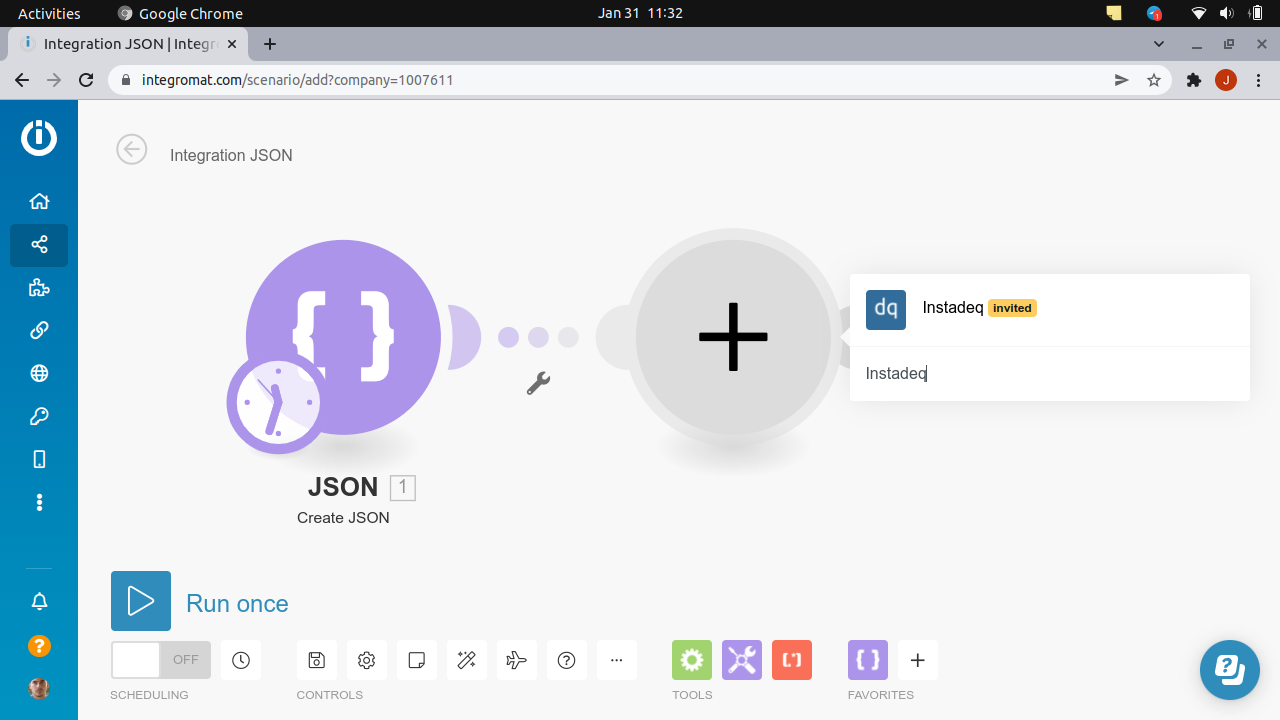
Step 4 - Add Instadeq Module to Scenario
Once you have your Source configured (We used a Create JSON Transformer), you can connect it to an Instadeq module with a "Send Records using a Webhook" action.
Click on "Add new module" and Search for Instadeq
Step 5 - Add Send Records using Webhook action
Click on "Send Records using a Webhook" to add this action to your Scenario.

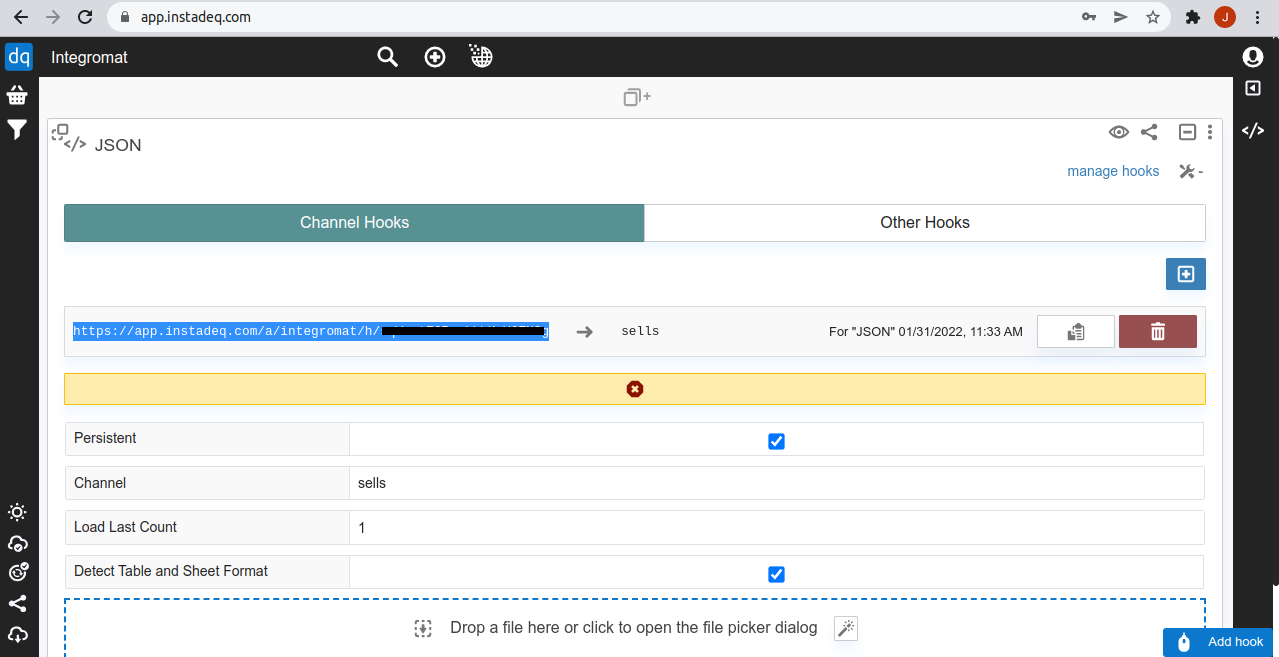
Step 6 - Generate an Instadeq Webhook
Copy the webhook generated for your JSON Card.
If you have not configured a JSON Card with a Webhook Card, you can follow our guide Create Dashboards that Update from WebHooks
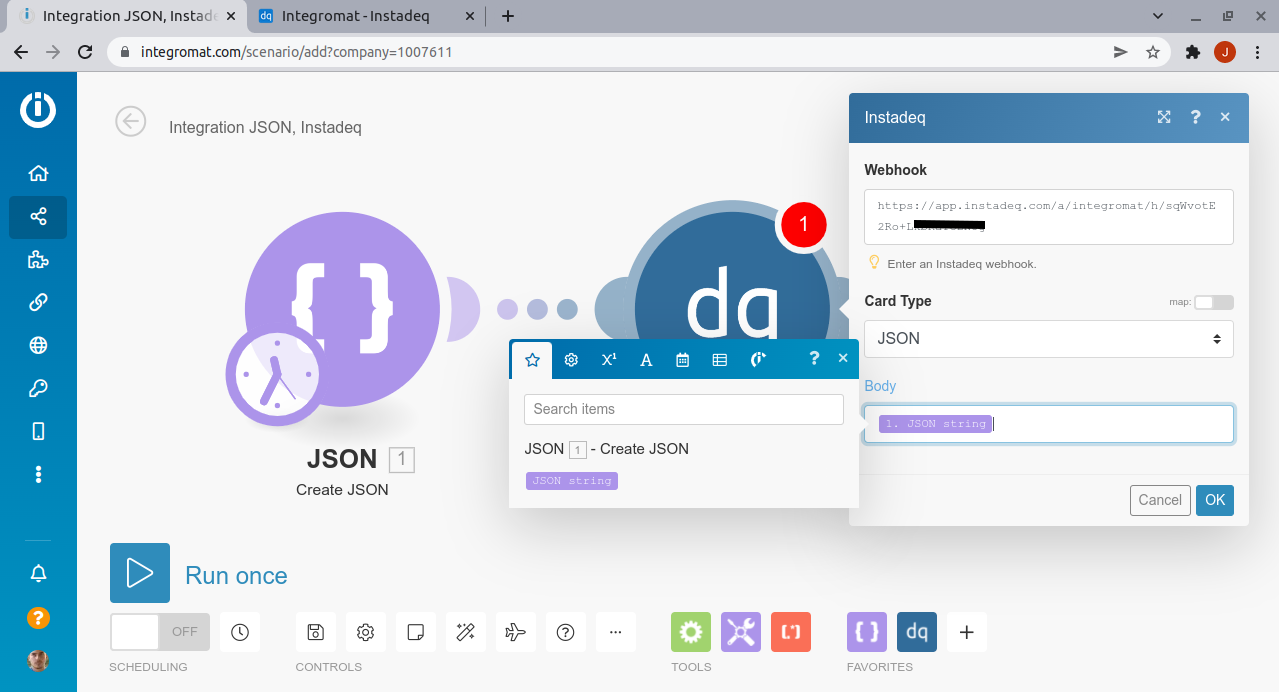
Step 7 - Configure your Instadeq Action
Paste the webhook url in the Webhook textbox.
Select JSON as Card Type
Configure a valid JSON as Body.
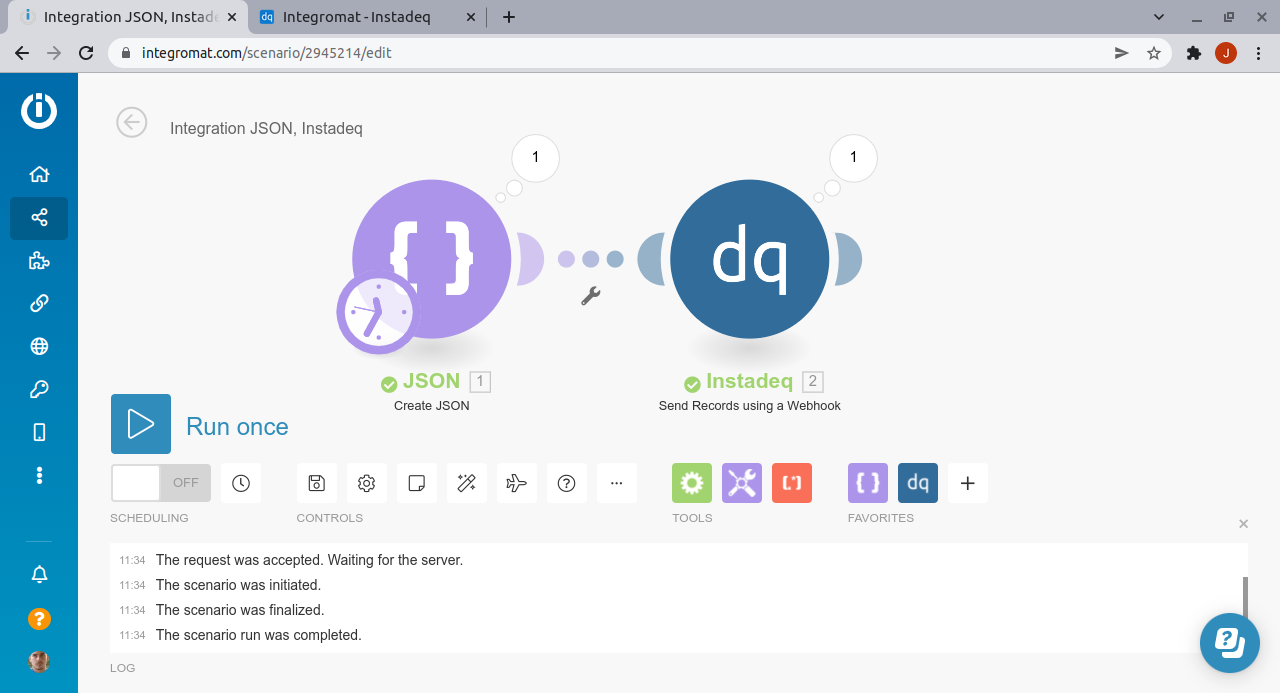
Step 8 - Run Scenario Once
Click on run once to send an event to Instadeq.
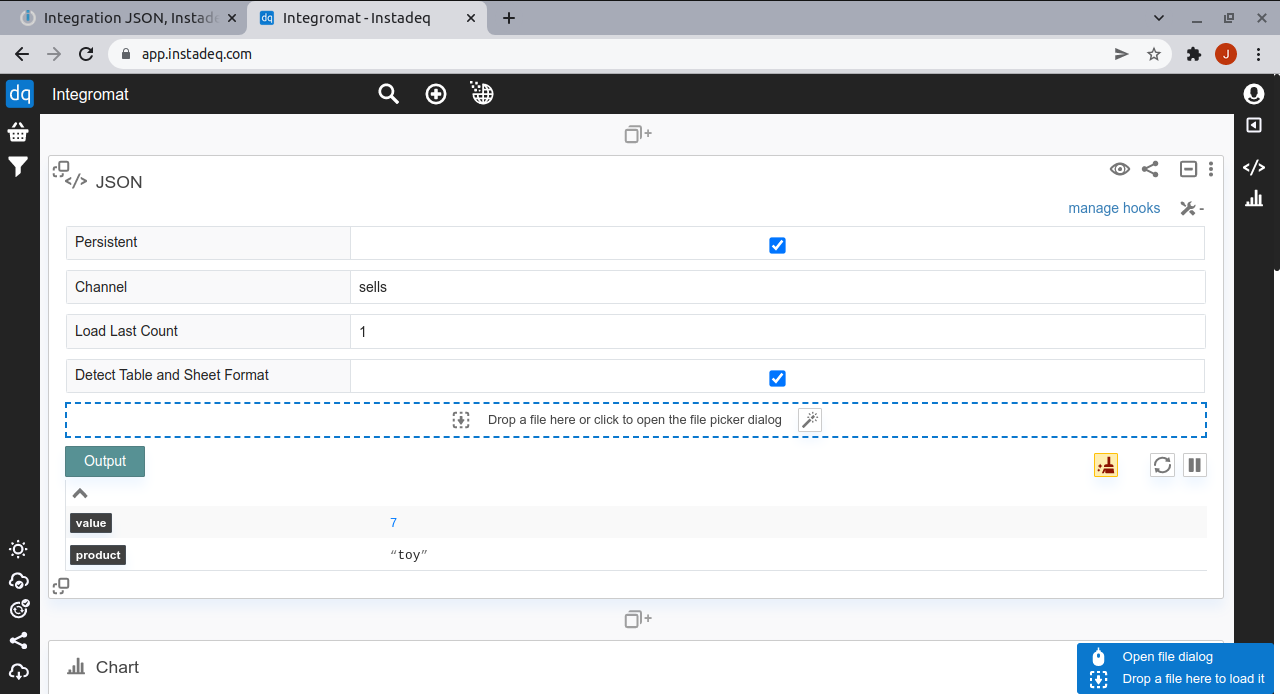
Step 9 - Check Record arrived to Instadeq
Check the record has arrived to the Instadeq JSON Card.
Step 10 - Build your live dashboard
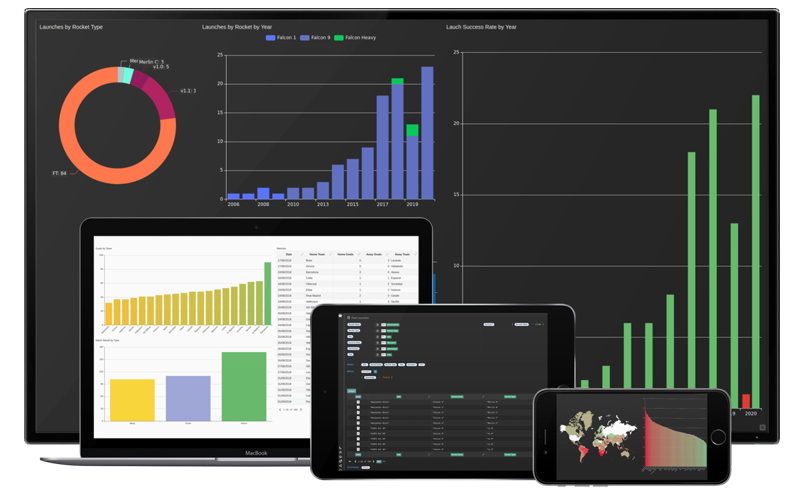
Now you can follow our guides, videos or use our templates to create a live no-code dashboard using the data from Integromat.
💭 Would you like to go over this topic with an instadeq specialist?
📅 Book a Call Free of Charge